Saturday, 30 November 2013

Gillian Kyle Designer Apron Giveaway


I have just put up my Christmas decorations. I know it’s early, but I want to get my money’s worth out of them. I love Christmas, as you may know. I love giving and I am pleased to announce another great giveaway running through December!


The very kind people at Gillian Kyle are offering a Tunnocks Caramel Apron for me to give to one Cakeyboi visitor over the festive season.

A Glasgow girl, Gillian Kyle is a designer whose inspiration comes from old books, magazines, advertising etc. She prints her great designs onto tea towels, t-shirts, stationery you name it! Pop over to her website to see her fantastic range.

I particularly love her designs featuring Tunnocks goodies, a favourite treat of mine, being Scottish. Which is why I am very proud to be offering the Tunnocks Caramel apron, which is retailed at £19.95. It is made of 100% organic premium cotton, has an adjustable neck tie and is long enough to tie around the front of the waist.

This will be perfect when you are baking all the delicious treats featured here on Cakeyboi of course!


To enter, use the Rafflecopter thingamajig below. The giveaway is open until midnight on Christmas Eve and I will endeavour to let the winner know as soon as I can after that. Good luck!
a Rafflecopter giveaway

Thursday, 28 November 2013

No-Bake Brownies


A few weeks back I saw a recipe on-line for these no-bake brownies. I investigated and they were from a book by Faith Durand called ‘Bakeless Sweets’. I immediately put this book on my Santa list. But then we were in Foyles book store in London and I spied the book on the shelf. It was the only copy and it was fate (and Disneyboi was moaning about the cost of delivery from the US!).


The book is full of recipes which don’t involve switching on the oven. I like the idea of that and I also like that a lot of the recipes are gluten free. A few readers have been asking for more gluten free recipes, so of course I am happy to oblige - very soon!.

The book is going to provide me with inspiration for a few of my own recipes over the coming months I think. But for now I wanted to make the recipe that kick started this whole thing – the brownies.

The recipe called for a couple of more US type ingredients, so I have tweaked for UK shoppers. And I have seen the recipe on a few websites now, so I don’t think anyone will mind me sharing this with you.

The brownies themselves are chocolaty of course, nutty and have great texture. I keep them in the fridge so they are nice and firm. But they are still quite fudgy when you bite in.

Yield: Approx 24 brownies

Ingredients:
100 grams crushed digestive biscuits
60 grams chopped, roasted hazelnuts
20 grams cocoa powder
1 teaspoon salt
180 ml condensed milk
115 grams 65% cocoa solid dark chocolate

Method:
Line an 8”x8” brownie pan with greaseproof paper (not foil, as I did).

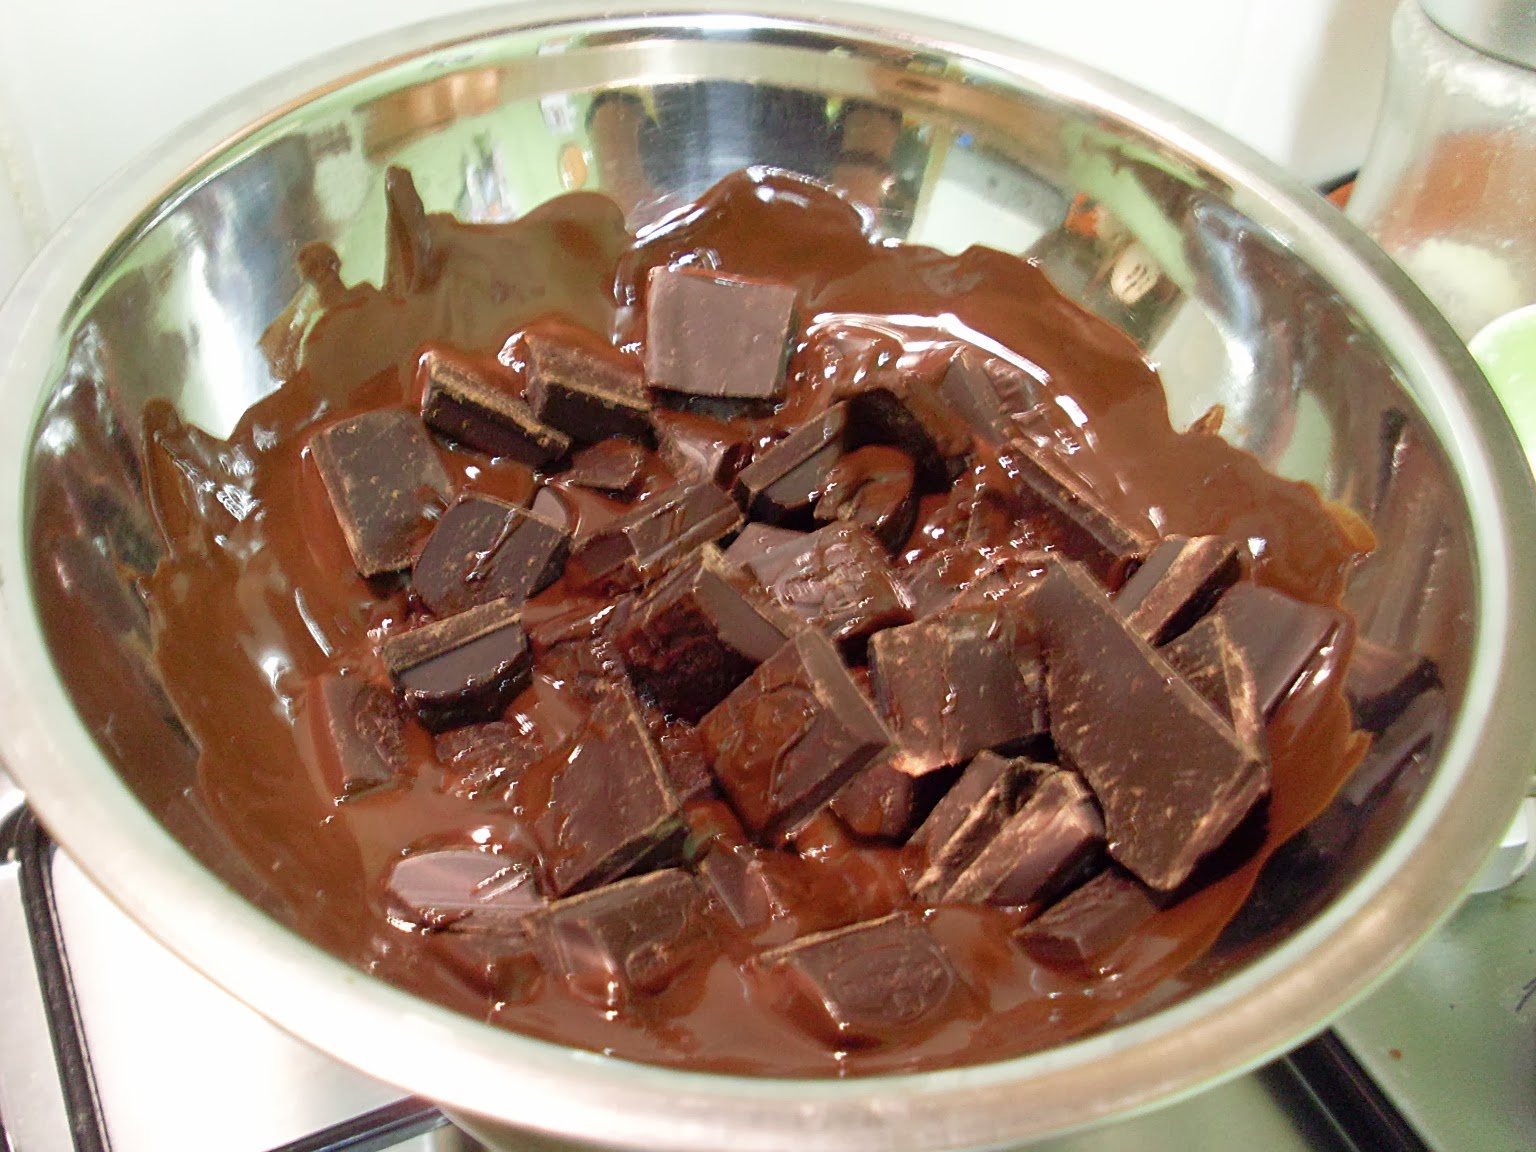
In a bain marie, melt the chocolate.


In a large bowl, mix together the crushed digestives, nuts, cocoa powder and salt. Pour in the condensed milk and with a fork mix this thoroughly. Lastly add the melted chocolate and mix until everything is fully combined.


Place the mix into the prepared pan. With a greased off-set spatula press the mix down as best you can – it is thick and sticky. Then take some clingfilm, lay over the top and with your fingers smooth the mix out fully. Place this into the fridge to chill for at least 1 hour.


When chilled, remove from the tin and peel off the greaseproof paper and cut into 24 squares (less if you like big squares!).


Delicious! Enjoy…

Wednesday, 27 November 2013

Thanksgiving Cartoon Time

It's Thanksgiving tomorrow in the USA. Thought Cakeyboi might try and get in on the act. No idea what he's thanking her for though...


Monday, 25 November 2013

Cheddar Cheese Apple Pie


Don’t you think this time of year just screams PIE?! The sweet variety I mean, of course. It’s a warming, comforting dessert – perfect for these Wintumn ™ nights.

I am going to coin 2013 as the year I conquered my pastry fear, I have been making it a lot more, puff, rough puff, choux and good old shortcrust. The latest I made was a version of shortcrust, with added cheddar cheese. Perfect in my pie.

I saw a recipe for apple pie with a cheddar cheese crust a while back and I have been meaning to make it for yonks now. It intrigued me, I know apples and cheese go well together, but in a pie? I like to try the unusual as you know. So this weekend was a perfect opportunity. I tweaked it a little - omitting some butter (i.e forgetting to add it on top) and didn’t use a lemon (forgot to buy one) - (this turning 40 shenanigans does make one forgetful I find!) but, the result was delicious.

If you are wondering what the cheese adds, it brings a creaminess to the pastry. I found it quite rich, but tasty nonetheless.

Yield: a 9" pie

Ingredients:
Pastry:
250 grams plain flour
2 tablespoons sugar
¼ teaspoon salt
225 grams unsalted butter, cubed
100 grams strong cheddar, grated (I used Orkney)
4 tablespoons ice cold water

Filling:
500 grams apples, peeled and sliced thinly
75 grams granulated sugar
2 tablespoons cornflour
¼ teaspoon salt
1 teaspoon ground cinnamon

1 beaten egg for brushing

Adapted from Food Network

Pastry method:
In a processor, blend together the flour, sugar, salt, butter and cheese until it look like breadcrumbs. Add the water down the feeder tube and process just until a ball of dough forms. Add it dribble of water if it is too dry. Turn it out onto a work surface and knead briefly. Split the dough into two, 60:40 ratio. Wrap each piece in clingfilm and flatten into a disc and chill for at least 30 minutes. I chilled mines for about 24 hours, which was just as fine.


When chilled, roll out the larger disc so it is wider than your pie dish. I used a 9” dish, so the dough was about 10-11” in diameter. Place into the pie dish and press down the sides, turning over the excess. Brush this with a bit of water.


Filling method:
In a bowl, mix together the cornflour, sugar and cinnamon and add the apples. Get your hands stuck in and make sure all of the apples are coated with the sugar mix.


Place these into the pie dish.

Roll the second dough disc out so it is just a bit wider than the 9” dish. Place this on top of the apples and press the edges down on the lower layer of dough. With a knife, trim of excess dough and crimp the dough on the sides, either with a fork or with your fingers and thumb as I did. Slice a few holes in the top to let the steam escape. I added little hearts made out of excess dough. 


Brush the top with a the beaten egg and place the pie in the oven (pre-heated to 200C) for 30 minutes. After the 30 minutes knock the heat back to 190C and if the top looks like it is browning too much, add a little tinfoil disc to the top of the pie to prevent it burning. Bake for a further 30 minutes. After this time, remove from the oven and allow to cool for at least 30 minutes.


During baking you get a smellicious waft of baked cheese, apples and cinnamon. The pie is best served warm, with a dollop of cream, if you so wish. Enjoy!!


Saturday, 23 November 2013

Cinnamon Lava Lumps


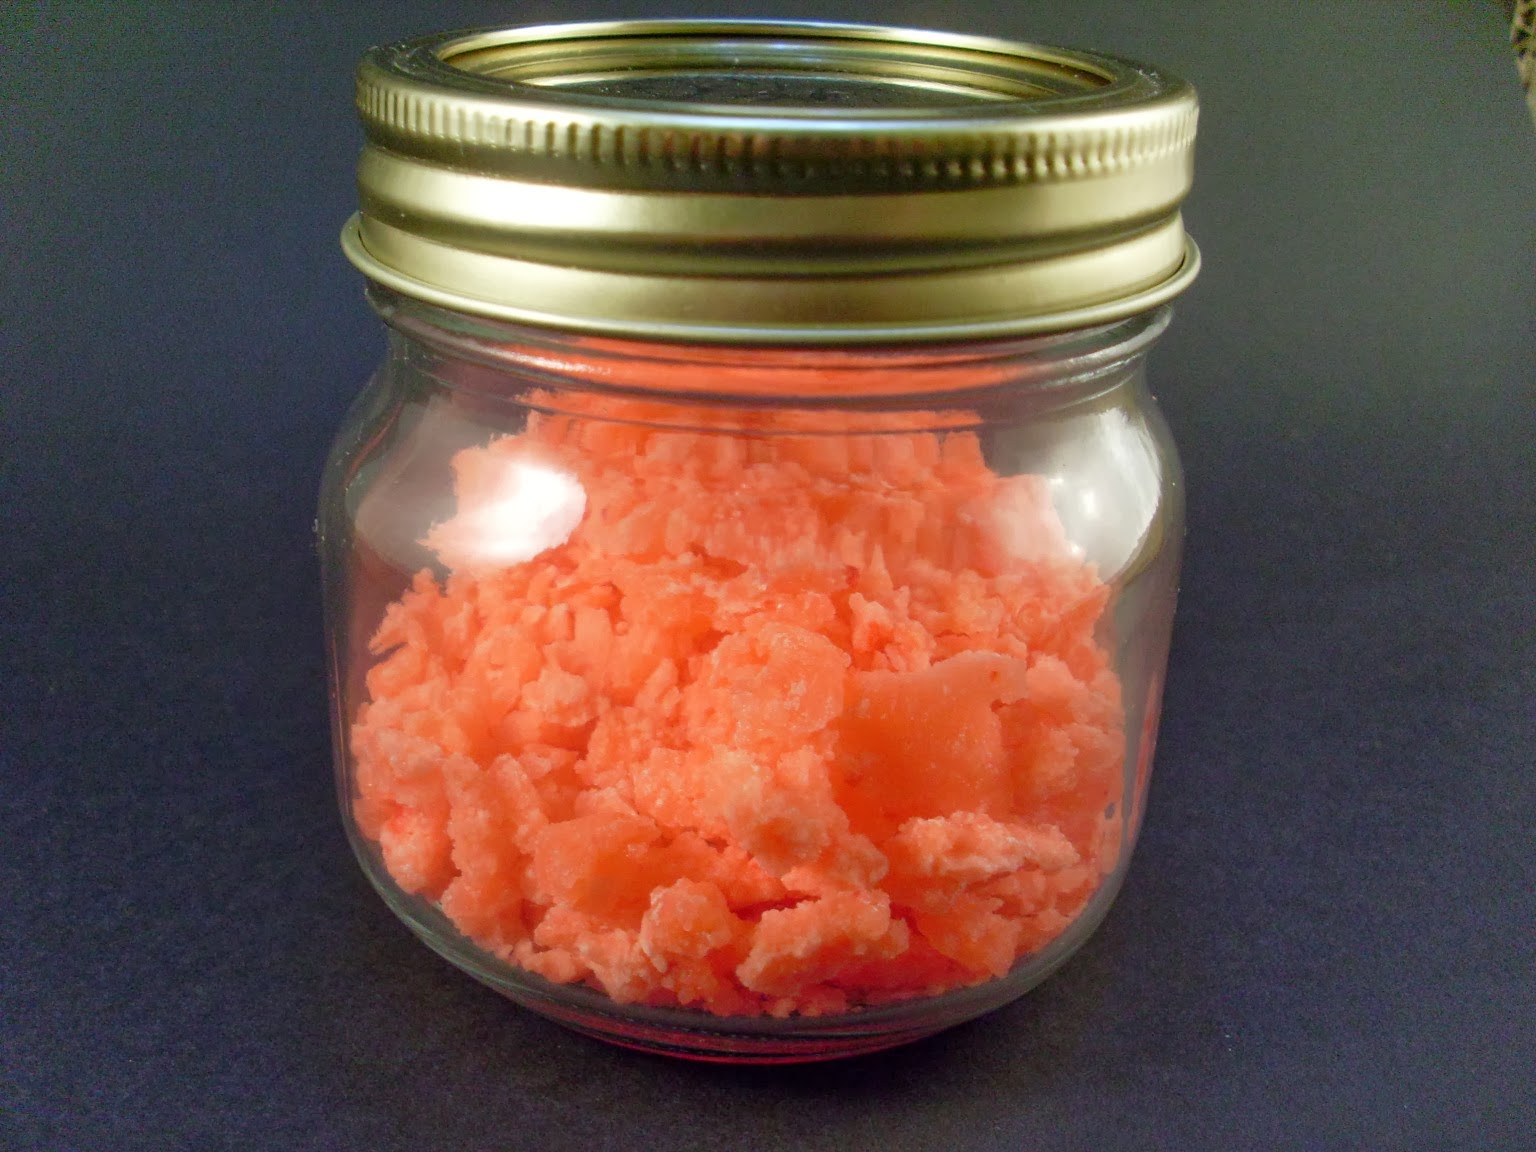
These little sweets were a bit of an experiment. I was trying to make solid cinnamon drop type sweets, but came up with these ‘lava lumps’ instead. Yes, it was a bit of a happy accident truth be told.

I’m always very wary about boiling sugar to screaming hot temperatures. But I was brave, clipped on my sugar thermometer and clicked on the gas.

I used cinnamon flavour food oil, which I purchased online and added some red food colouring to get that Mount Vesuvius effect.

When I tried to cool the mix down in an ice bath, instead of going into a runny, thick syrup, the mix seized and went into crystals. I kept stirring and the crystals looked just liken hot lava rocks.

I let them cool and tried them – very delicious and very hot. Now, here is the recipe, but as these were an accident, I don’t know whether you could replicate these. If you like fiery little cinnamon hot drops however, then this might be worth a go.


Ingredients:
400 grams caster sugar
1 tablespoon golden syrup
150 ml water
½ teaspoon cinnamon oil (Lor-ann brand)
2 drops of red food colouring

Method:
Make an ice bath, by placing cold water ice cubes in a bowl. Set aside.

In a large saucepan, mix together the sugar, syrup and water. Clip on a sugar thermometer and bring the mix to a boil. Don’t stir after it comes to the boil and continue to cook until it gets to 143C on the thermometer, which is soft-crack stage.


Immediately take the pan off of the heat and add the cinnamon oil and food colouring. Stir and place into the ice bath to stop the sugar cooking any further. Keep stirring and the mix will begin to crystallise into lumps. Place the lumps into a heat-proof bowl and allow them to cool fully.


It’s as straight-forward as that. I kept my lava lumps in a glass jar and also had some in a small paper ‘poke’, just like the sweetie mixtures I used to get when younger. Spicy and delicious!! The lumps are firm but crunchy, not tooth-breakingly so!


Please be very careful if attempting to make these – boiling sugar can be very, very dangerous!

Thursday, 21 November 2013

Apple Crumble AND Custard Cupcakes


That’s right – apple crumble AND custard cupcakes. The custard is baked right in the middle of these little beauties.

Apple crumble is a favourite of mine, especially around this time of year. With the cold dark nights, Sunday dinner was never complete in the autumn without a bowl of my mum’s apple crumble.

I used to have mine’s with evaporated milk, but custard is probably another favourite pairing with the dessert. So why not try and capture the entire dish in one delicious cupcake?

My idea was to make an apple cupcake, sprinkle on a crumble topping, and somehow get the custard in the middle. I couldn’t core out the centre after it was baked -  the crumble topping would be set. So I thought why not drop some chilled thick custard in the middle of the batter and bake the cupcake around it. And it worked. Chilling it seemed to stop the custard dissolving into the rest of the cupcake.

For the apple in the cupcake, I used an idea I found on another site, a jar of bramley apple sauce. Perfectly sized wee chunks of apple ready to add to the mix.

Here’s the recipe;

Yield: 8 large cupcakes

Ingredients:
Crumble Topping:
50 grams plain flour
25 grams light brown sugar
25 grams unsalted butter
½ teaspoon cinnamon

Cupcake:
270 gram jar Bramley apple sauce
½ teaspoon bicarbonate of soda
55 grams unsalted butter, softened
85 grams light brown sugar
1 medium egg
180 grams self-raising flour
1 teaspoon cinnamon

Custard filling:
1 sachet of instant custard powder
½ water recommended on instruction

Method:
Custard:
Make the custard as instructed on the pack, except use only half the water recommended. Let the custard cool and then chill in the freezer 30 minutes before making the cupcakes.


Crumble:
Make the crumble by rubbing together in a bowl the flour, sugar, butter and cinnamon until the mix resembles breadcrumbs. Set aside.


Cupcakes:
Pre-heat the oven to 180C. Line a large cupcake tray with 8 liners. In a small bowl empty the contents of the apple sauce and mix in the bicarb. The mix will begin to fizz and foam. Set aside.


Beat together the 55 grams butter and 85 grams sugar until smooth. Add the egg and beat until the mix looks slightly thickened. Sift together the self-raising flour and cinnamon.

Add one third of the flour to the butter/sugar/egg mix and stir through. Add half the apples and mix through. Another third of flour, the rest of the apples, then the remaining flour. Stir until just combined.


Fill each cupcake liner a third full. Take the chilled custard and spoon a heaped teaspoon on top of the cupcake batter. Top each cupcake with more batter, so it covers the custard. Lastly, sprinkle on the crumble mix and press down lightly.


Place these into the oven for 20 minutes or until a toothpick comes out clean from the side (the centre will have molten custard in it).


Allow these to cool slightly before tucking in. They are best eaten warm, but cold is just as delicious. They really are what’s called for on a chilly wintumn (just made that up) night. Enjoy!

Wednesday, 20 November 2013

Cartoon Time - If you can't stand the heat...

Cakeyboi is looking hot and bothered...


Monday, 18 November 2013

Chocolate Nut Truffles


Recently I was asked if I would like to sample some nuts. Of course, I leapt at the chance!


 A company called WhyNut supply premium pistachio, hazelnut and almond pastes as well as their pistachio nuts. I received a sample of the hazelnut paste and pistachio paste, along with the peeled green pistachio nuts and the roasted and salted pistachio kernels.

I snacked on some of the pistachios (delicious) and will be using some in baking later on. But I used the pastes to create nutty chocolate truffles.

Chocolate truffles are decadent at the best of times, but with added nut paste, this would take them to a higher level. Here’s how I made them...

Yield: Approx 30 Truffles
Ingredients:
300 ml double cream
300 ml dark chocolate, minimum 65% cocoa solids
4 teaspoons Whynut paste
Cocoa Powder

Method:
Line a baking tin and set aside. In a bowl over a saucepan of simmering water, melt the chocolate. In another pan, bring the cream up to a simmer.


When the cream is simmering, take it off of the heat and stir the melted chocolate in slowly, ensuring it is completely mixed through. Lastly, add 4 teaspoons of the nut paste and stir in. I split my mixture in two so I had chocolate hazelnut truffles and chocolate pistachio truffles.


Pour the chocolate/cream mix into the prepared tin and set aside for 4 hours. After the 4 hours, transfer to the fridge and leave for 8 hours or overnight.

When chilled, using a melon baller scoop out balls of the truffle mix and roll into a smooth ball. It is best to have your hands dusted with cocoa powder for this. Lastly coat each ball in more cocoa powder.

The truffles are ready. They are best kept in the fridge but should be eaten within a few days. They were very rich, chocolaty and with a subtle nutty taste going on in the background. These would make a very nice gift for someone.


Why not visit WhyNut and take a look at their nuts?


Disclosure Statement. I received the products free to sample. Any views expressed are my own. 

Saturday, 16 November 2013

Baking Bread with Italian Flair


So, after our delicious meal at a A Room in the West End (see last week’s post) , Jac (Tinned Tomatoes) and I headed over to the Bellini Cookery School in the Pleasance area of Edinburgh.


We were lucky enough to be able to attend a bread making course for lovemycourse – a website which offers over 60, 000 courses in the UK. The courses they offer vary from photography, languages, arts and crafts, to name but a few. You can even set up your own courses and add them on the site. We opted for cooking and chose a bread making class at the Bellini Cookery School.

The Bellini Cookery School is actually in Gino’s Italian Kitchen on the Dalkeith Road in Edinburgh. This is a small Italian café run by Chef Angelo Cimini and manager Gina Giubarelli. We turned up and were greeted by Gina, the manager and were offered tea, coffee etc. upon arrival.


We waited until the rest of our class arrived and then we were given some ‘housekeeping’ rules. We scrubbed up and Gina gave us a bit of background to Chef Angelo before introducing him. Initially Chef Angelo seemed a bit reserved, but when he began talking about Italian cooking and baking, you could see the love he has for his trade.

Chef Angelo demonstrates

 From Italy himself, Chef Angelo has cooked for many diginitaries and celebrities over the years, so you knew what he was going to cook up would be good. He gets up early everyday to bake and cook for the café and you can see it is a true labour of love for him.


Chef Angelo demonstrated the bread making process and then we got a chance to get our hands ‘doughy’.

Jac ready to get her hands floury

 I chose to make white bread and began by rubbing in the butter and olive oil into the 00 grade flour. I decide to make a focaccia sprinkled with rosemary and salt. I also went for something sweet and made cute little cinnamon bread rolls.

My focaccia

I placed the individual rolls close together so when they proved, they touched. Jac told me this was called a Baker’s Kiss, something I had never heard before.


Jac chose to make brown bread filled with nuts and fruit (see pic at the top), which did look delicious.

Whilst we were waiting on our bread baking we were treated to delicious bruschetta, made by Chef Angelo and tasted so fresh, it was amazing.


The class lasted for around 3 hours and I was surprised by how fast it went. I thoroughly enjoyed my time and felt I had learned from a true master.


If you fancy attending a class at the Bellini Cookery School, or indeed want to look at other cooking courses available in the Edinburgh area,  check out lovemycourse . Of the 66,000 something courses available,  they have plenty to help you improve your cooking skills. Pop over to their website to find out what is on offer. I highly recommend them!

Disclosure Statement: This is a sponsored post. The course was arranged for and paid by lovemycourse. I was not committed to writing a positive review. Any opinions expressed are my own.